Essential Bird Photography Tips
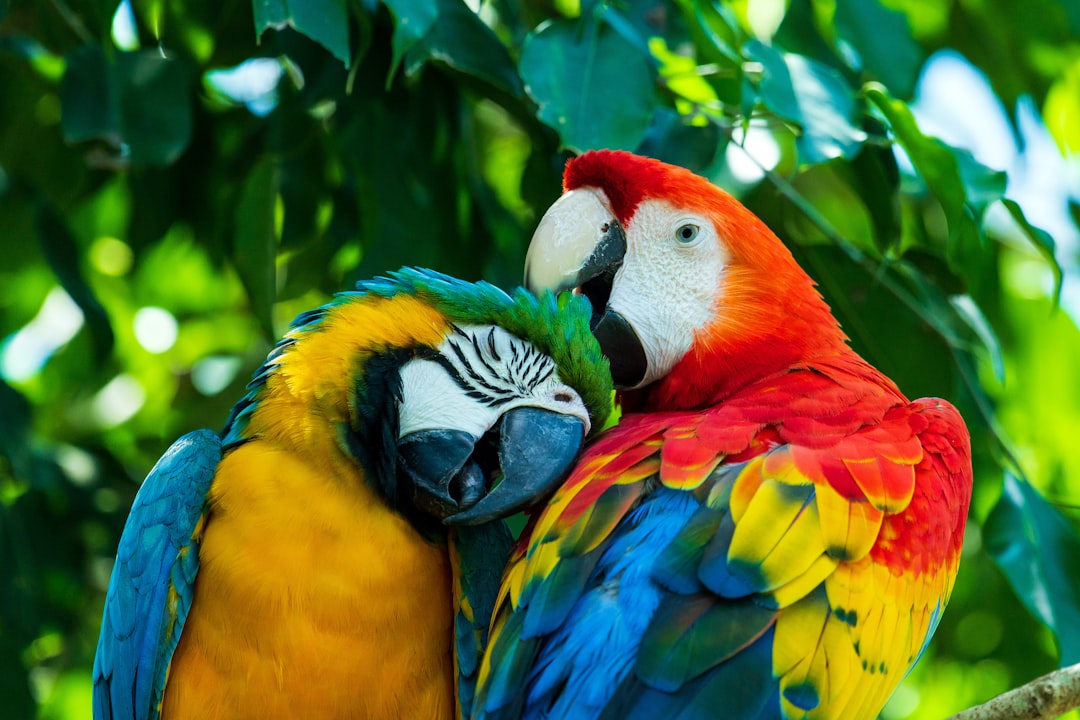
Bird photography combines the thrill of wildlife observation with the technical challenges of capturing fast, often unpredictable subjects. Whether you're photographing colorful songbirds in your backyard or elusive raptors in remote wilderness, these techniques will help you create compelling images that showcase the beauty and behavior of birds. As a professional wildlife photographer who has specialized in avian subjects for over a decade, I'm excited to share what I've learned through countless hours in the field.
Understanding Your Equipment
Camera Selection
While you can photograph birds with almost any camera, certain features significantly improve your chances of success:
- Fast autofocus system: Birds move quickly, so cameras with sophisticated tracking capabilities and numerous focus points provide a distinct advantage.
- High frame rate: A camera capable of 7+ frames per second helps capture the perfect moment during rapid bird movements.
- Good high-ISO performance: Birds are often active in low light conditions (early morning/evening), requiring higher ISO settings without excessive noise.
- Weather sealing: Bird photography often means extended periods outdoors in variable conditions.
Both mirrorless cameras and DSLRs can produce excellent bird images. Mirrorless systems offer advantages like electronic viewfinders (showing your exposure in real-time) and often superior tracking autofocus, while DSLRs typically have better battery life and may feel more responsive.
Lens Considerations
The single most important equipment investment for bird photography is a quality telephoto lens:
- Focal length: Most bird photographers consider 300mm the minimum focal length, with 400-600mm being ideal for most situations. Bird photography almost always benefits from more reach.
- Aperture: Faster lenses (f/2.8, f/4) allow more light, enabling faster shutter speeds and better background separation, but they're typically larger, heavier, and more expensive.
- Image stabilization: This feature helps tremendously when handholding longer lenses, potentially giving you 3-5 stops of additional stability.
- Budget options: Consider telephoto zooms (like 100-400mm or 150-600mm) as versatile and relatively affordable entry points.
Essential Accessories
- Support system: A sturdy tripod with a fluid head or specialized gimbal head makes tracking birds in flight much easier and reduces fatigue when using heavier lenses.
- Extra batteries: Cold weather and continuous autofocus drain batteries quickly.
- Memory cards: High-capacity, fast-writing cards prevent buffer limitations when shooting bursts.
- Camouflage: Simple earth-toned clothing helps you blend in, while portable blinds or covers can be useful for more skittish species.
Camera Settings for Bird Photography
Exposure Modes
Most experienced bird photographers use one of two exposure modes:
- Aperture Priority (A/Av): You set the aperture (typically wide open for bird portraits or slightly stopped down for birds in flight), and the camera determines appropriate shutter speed. Combined with Auto ISO, this provides excellent flexibility while maintaining control.
- Manual with Auto ISO: You set both aperture and shutter speed, and the camera adjusts ISO to maintain proper exposure. This is particularly useful for birds in flight against changing backgrounds (sky/trees).
Shutter Speed Guidelines
Appropriate shutter speeds depend entirely on the bird's activity:
- Perched birds: 1/500 sec is often sufficient for stationary subjects, though 1/1000 provides a safety margin for small movements.
- Birds in flight: Start at 1/2000 sec for larger, slower birds and increase to 1/3200 or faster for small, fast-moving species like swallows or hummingbirds.
- Creative slow shutter: 1/15 to 1/60 sec can create beautiful motion blur effects for birds in predictable flight paths (like waterfowl landing).
Focus Settings
Autofocus configuration is critical for consistently sharp bird images:
- AF mode: Continuous focus (AF-C/AI Servo) is essential for birds in motion and advisable even for perched birds that might move suddenly.
- Focus points: For perched birds, use a single focus point for precision. For birds in flight, use dynamic/group focus modes or animal eye-tracking on cameras that offer it.
- Back-button focus: Many professionals separate focus activation from the shutter button, using a dedicated back button for focusing. This allows more control in complex situations.
Recommended Starting Settings
For perched birds:
- Aperture Priority mode
- Widest aperture (f/4-f/5.6)
- Auto ISO (with minimum shutter speed set to 1/500 sec)
- Continuous AF
- Single focus point
For birds in flight:
- Manual mode with Auto ISO
- Aperture f/5.6-f/8 (for better depth of field)
- Shutter speed 1/2000-1/3200 sec
- Continuous AF
- Dynamic/group focus area or subject tracking
Field Techniques for Better Bird Photos
Understanding Bird Behavior
Great bird photography begins with understanding your subjects:
- Research species habits: Knowing when and where birds feed, rest, or display helps you anticipate photographic opportunities.
- Learn behavioral cues: Most birds telegraph their intentions before taking flight or performing interesting behaviors. Head bobbing, defecation, or changing posture often precedes action.
- Observe patterns: Many birds follow predictable routes or return to favorite perches, allowing you to position yourself strategically.
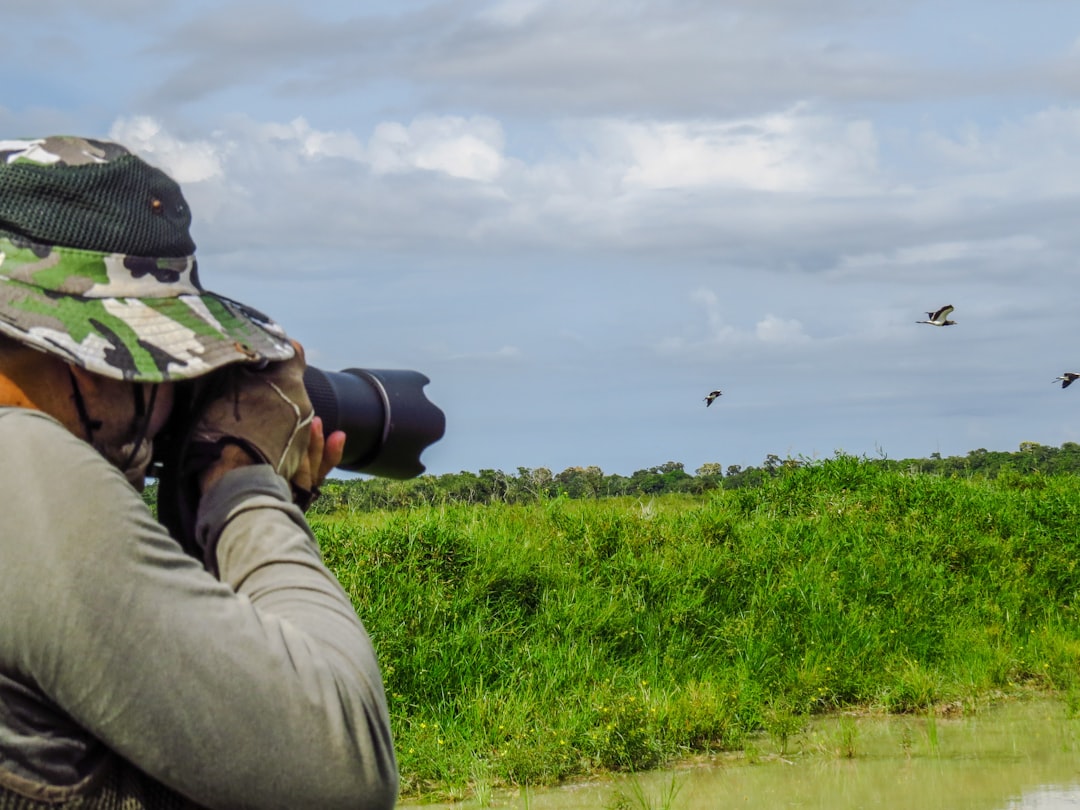
Approaching Birds
Getting close without disturbing your subjects requires patience and technique:
- Move slowly: Approach birds gradually with no sudden movements.
- Avoid direct eye contact: Many birds perceive direct gaze as threatening.
- Use natural blinds: Trees, bushes, or landscape features make excellent cover.
- Stay low: A lower profile appears less threatening to most birds.
- Follow the 'golden rule': If the bird shows signs of stress (alert posture, alarm calls), back off immediately.
Composition Techniques
Technical perfection means little without thoughtful composition:
- Eye level perspective: Whenever possible, photograph from the bird's eye level for a more intimate connection.
- Rule of thirds: Position the bird off-center, ideally with space in the direction it's facing or looking.
- Background awareness: Simple, uncluttered backgrounds make the subject stand out. Position yourself to avoid distracting elements.
- Catchlight: A small reflection in the bird's eye brings the image to life. Angle yourself so natural light creates this highlight.
- Environmental context: Include habitat elements that tell a story about the bird's life and ecology.
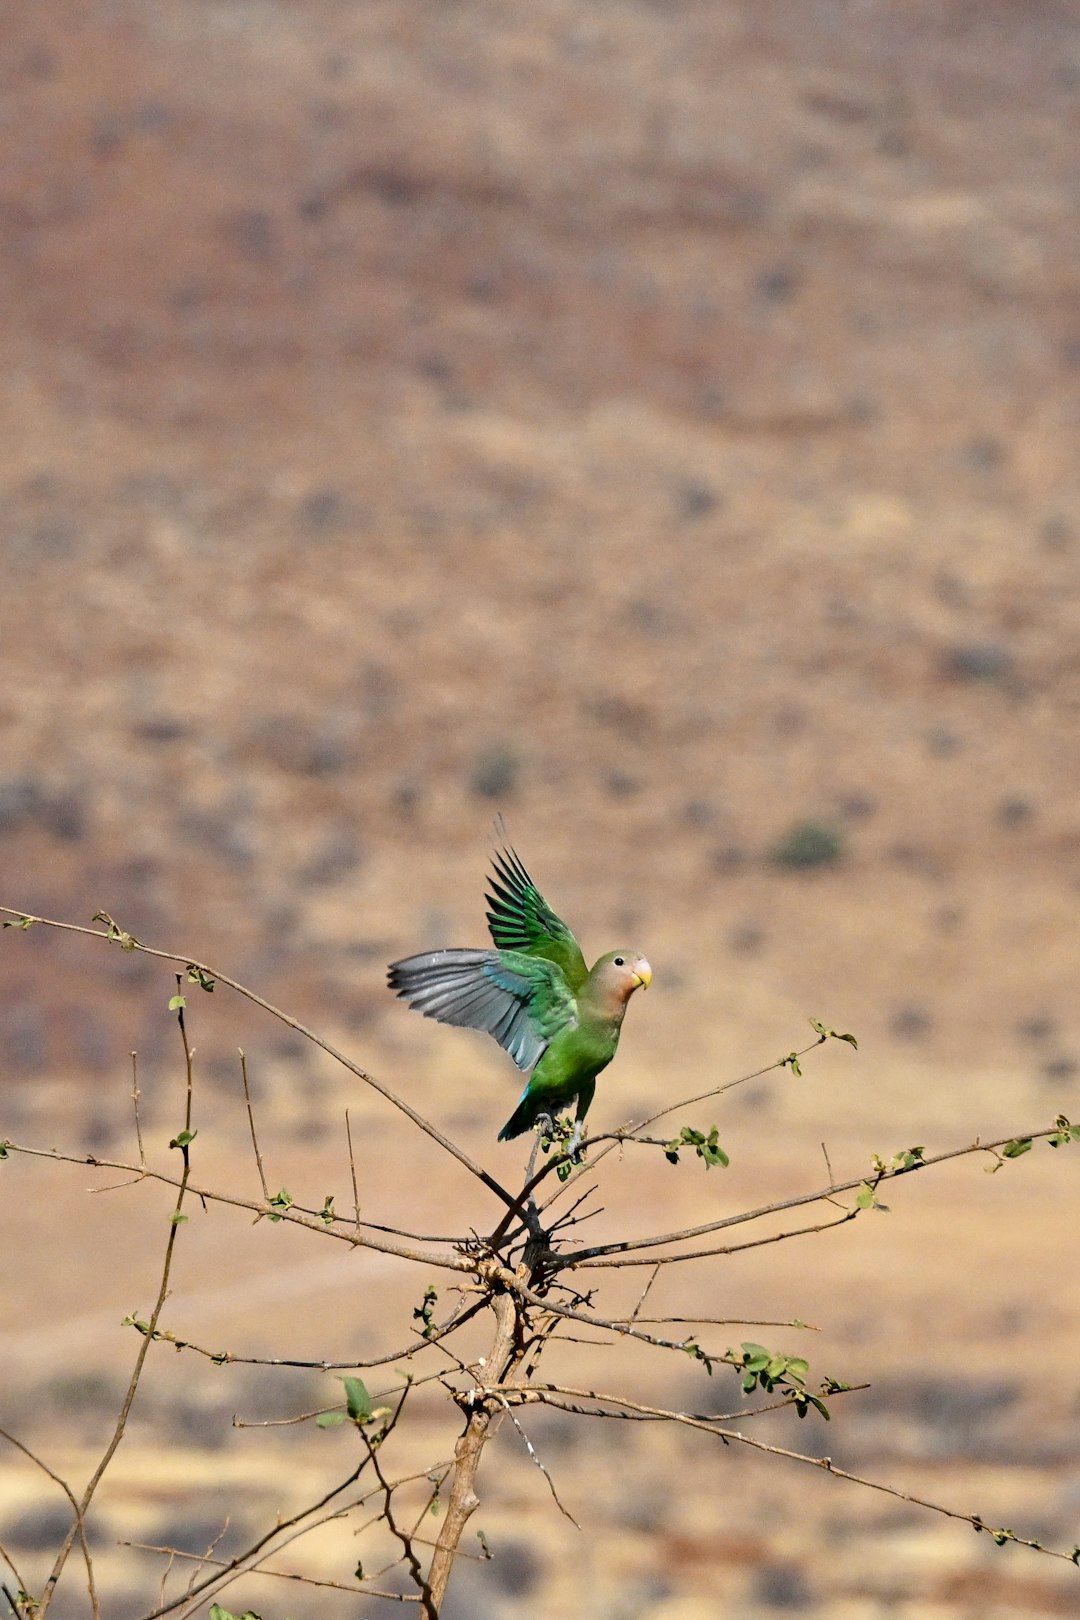
Capturing Birds in Flight
Perhaps the most challenging aspect of bird photography requires practice and preparation:
- Prefocus technique: Focus on a spot where you anticipate the bird will fly, then track it through that zone.
- Panning: Follow the bird's movement smoothly with your camera, keeping it in the same position in your frame.
- Continuous shooting: Use burst mode to capture multiple images, increasing your chances of getting the perfect wing position.
- Flight path prediction: Most birds take off and land into the wind; use this knowledge to position yourself accordingly.
Light and Weather Considerations
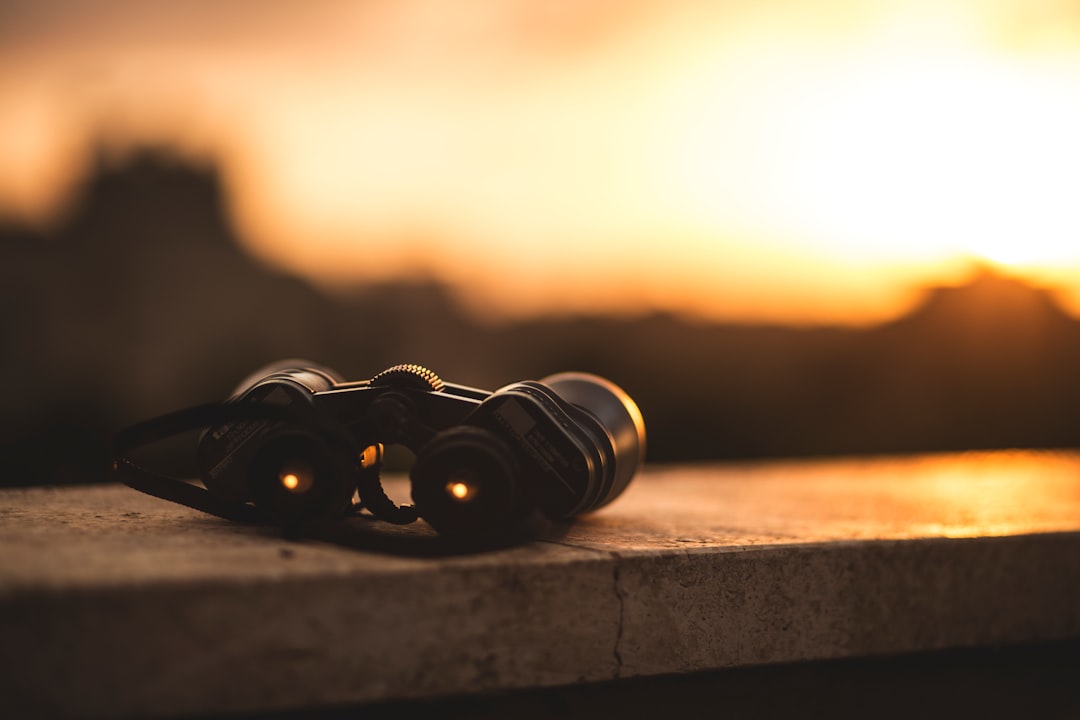
Golden Hours
Early morning and late afternoon provide the most flattering light for bird photography:
- Warm, directional light adds dimension and reveals feather detail
- Many birds are most active during these periods
- Shadows are softer and more forgiving
Working with Challenging Light
- Harsh midday sun: Look for birds in partial shade or use the "shadow side" lighting technique by positioning yourself so the sun illuminates the bird from behind at an angle.
- Overcast conditions: Perfect for capturing fine feather detail without harsh shadows, but requires higher ISO settings.
- Backlight: Can create dramatic silhouettes or beautiful rim lighting that highlights feather edges.
Weather Opportunities
Don't put your camera away during "bad" weather:
- Fog and mist: Create atmospheric images with a painterly quality.
- Light rain: Birds often remain active and droplets on feathers add interest.
- Snow: Provides clean, bright backgrounds and shows birds in seasonal context.
- Storm clearing: Some of the most dramatic light occurs just after storms pass.
Post-Processing for Bird Photography
Even perfect field technique usually benefits from thoughtful editing:
Essential Adjustments
- Exposure fine-tuning: Birds with white or very dark feathers often need exposure adjustments to preserve detail.
- Selective sharpening: Apply sharpening primarily to the bird, especially the eyes and feather detail.
- Noise reduction: Use conservatively to preserve feather detail, focusing on smooth areas like skies.
- Cropping: Don't be afraid to crop tightly if the composition benefits, but maintain sufficient resolution for your intended use.
Ethical Considerations
- Maintain honesty about what was captured in-camera versus created in editing
- Minor cloning to remove small distractions is generally accepted, but adding or removing significant elements crosses into digital art rather than wildlife photography
- Consider how your processing choices affect the authentic representation of the species
Ethical Bird Photography
The welfare of your subjects should always take precedence over photography:
- Respect nesting birds: Keep a significant distance from nests and never remove vegetation for a better view.
- Limit calls and playback: Using recordings to attract birds should be minimal or avoided entirely, especially during breeding season.
- No baiting of predatory birds: This practice can create dangerous dependencies and alter natural behavior.
- Follow local regulations: Many wildlife sanctuaries have specific rules regarding photography.
- Educate others: Share ethical practices with fellow photographers.
Continuing Your Bird Photography Journey
Bird photography is a lifelong learning process where technical skill meets naturalist knowledge:
- Join bird photography communities to share knowledge and receive feedback
- Study images from accomplished photographers to understand their techniques
- Keep a record of your settings and results to identify patterns in what works best
- Revisit the same locations in different seasons to document changing behaviors
- Consider contributing your images to citizen science platforms like eBird to support conservation
Remember that the most impactful bird photographs not only showcase technical excellence but also convey something meaningful about the species—its behavior, habitat, challenges, or beauty. As you develop your skills, aim to create images that inspire appreciation and conservation of these remarkable creatures.
You Might Also Like
Beginner's Guide to Birdwatching
Everything you need to know to start your bird watching journey
Seasonal Bird Migration Patterns
Understanding the fascinating journeys birds make throughout the year
Top 10 Birdwatching Locations Worldwide
Discover the most breathtaking spots around the globe to observe rare and beautiful bird species